Here’s exactly how to diffuse curly hair for volume, shine, and fast drying — especially in winter.
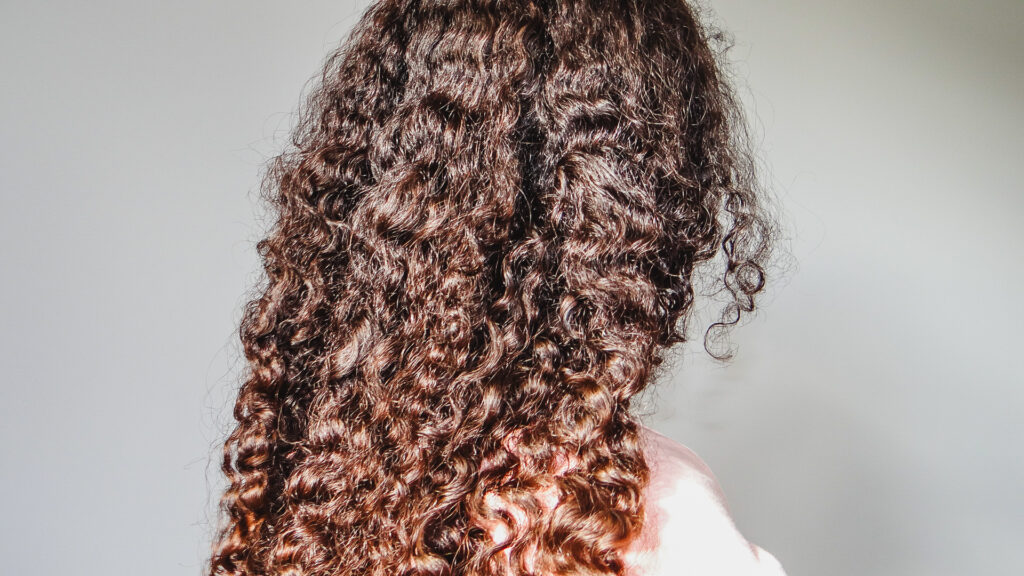
When the cold hits, my curls need extra help to stay bouncy, defined, and frizz-free.
And honestly? Air-drying in winter is a recipe for:
- Flat roots
- Puffy ends
- Long drying times
- Breakage (wet hair + cold air = danger)
Diffusing changed everything for me — faster drying, more volume, and softer curls with way less frizz.
Here’s exactly how I diffuse my curls, the settings I use, and the mini winter routine that saves my wash days.
Plus: scroll for my favorite diffuser tools & a quick video tutorial.
Why Diffusing Is a Lifesaver in Winter
Learning how to diffuse curly hair properly helps reduce frizz and gives more shine during colder months. When the air is cold and humidity drops, curls can lose moisture fast. Diffusing helps you dry your hair quickly without overheating it.
Here’s why it works so well in winter:
- Warms the product into your curls → better definition
- Reduces the “wet hair chill” feeling
- Less friction = less breakage
- Limits frizz because cold air smooths the cuticle
- Protects scalp health (no leaving wet hair for hours)
If you’ve been struggling with frizz or slow drying, diffusing is your best friend right now.


My Favorite Diffuser Settings for Long Curls
These are the settings I use when teaching beginners how to diffuse curly hair without causing frizz. They work beautifully for long, heavy, or mid-density curls:
Heat: low → medium
Enough warmth to set the curl pattern without drying it out.
Airflow: low
High airflow blows curls around = frizz.
Low airflow = definition + bounce.
Technique:
- Start upside-down for root lift
- Hover diffuse for 15–30 seconds over each section
- Then scoop-and-hold for 10–15 seconds
- Repeat around the head until you’re ~80% dry
- Finish with cool air to lock in the curl pattern
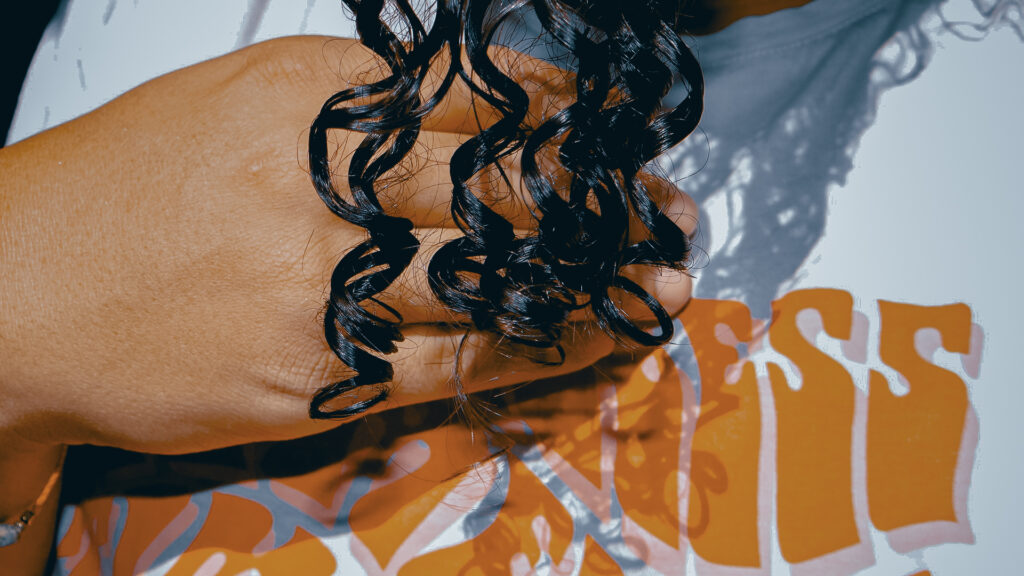
This gives soft, fluffy definition — not crunchy, not puffy.
Need a simple wash routine before diffusing? Read my Simple Wash Day Routine.
Quick Winter Diffusing Routine (5 Minutes)
Perfect for busy mornings or mom-life.
1. Apply Leave-In or Curl Cream
Just a light layer — winter curls love hydration.
2. Add Mousse (My Winter Secret) or leave in conditioner.
Mousse gives better frizz control in cold weather.
3. Diffuse for 3–5 Minutes
Low heat, low airflow.
Lift sections and hold.
4. Air-Dry the Final 10–20%
Keeps curls soft and shiny.
5. Scrunch Out the Crunch
Optional — only if you used mousse/gel.
Result: shiny curls, volume at the roots, zero “wet hair” feeling.
Bonus — How Diffusing Supports Curl Growth
Even though diffusing isn’t directly “growth boosting,” it protects your hair so it can grow better.
- Less friction → less breakage
- Warmer air helps dry roots faster → fewer tangles
- Better curl shape → less manipulation during the week
- Even root lift → less tension on the scalp
Healthy curls = longer curls.
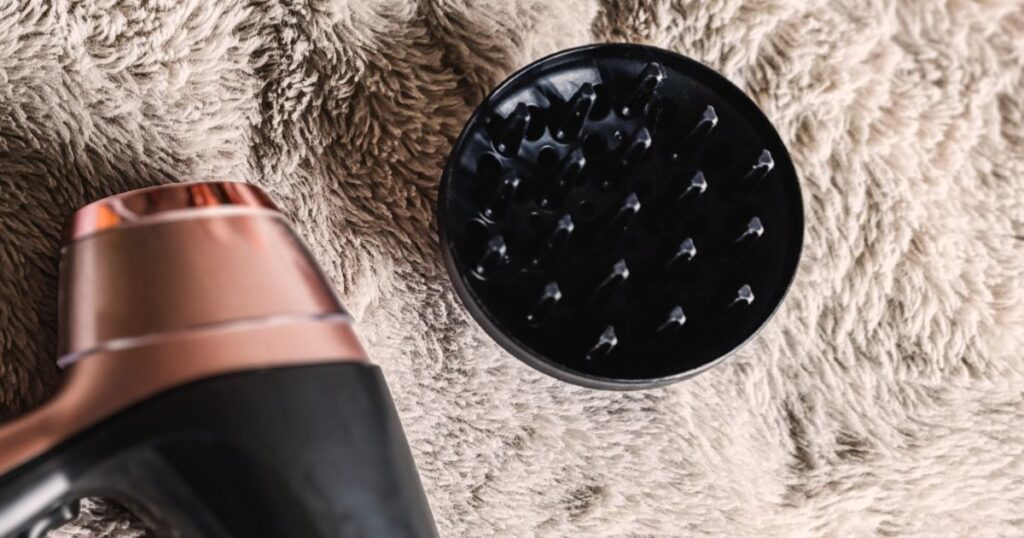
My Favorite Diffuser & Tools

My Current Diffuser
Right now I use the Remington Ionic Hair Dryer. It is simple, effective, and gives me even airflow with a diffuser for soft, defined curls.
If you are in France:
This is the closest match available on Amazon.fr to the one I use at home.
🇫🇷 Voir sur amazon.frIf you are in the US:
My exact model is not always available in the US, so I recommend the Remington Pro Wet2Style Hair Dryer. It gives a very similar result: quicker drying, balanced heat, and a diffuser that preserves curl shape.
🇺🇸 View on amazon.comThese are affiliate links, which means I may earn a small commission if you choose to purchase through them, at no extra cost to you.
Other Tools I Recommend
- A universal diffuser attachment (if your dryer is older)
- A microfiber towel to remove excess water before diffusing
- A curl-safe heat protectant (optional but great for winter)
Want soft curls before diffusing? Try my 3 Step Curly Routine.
3 Mini Diffusing Mistakes to Avoid
Avoid these and your curls will instantly look 10× better:
1. Diffusing soaking-wet hair
Always remove excess water first.
2. Touching curls while they dry
Instant frizz creator.
3. Using high heat on dry ends
Winter = ends get dry faster → protect them.
Want to See the Routine? Watch My Diffuser Tutorial
If you prefer seeing the routine in action, you can watch the video version of this method here:
Once you understand how to diffuse curly hair step-by-step, drying becomes faster, softer, and way more defined.
Pin This for Later (Save on Pinterest!)
Want My 5-Minute Curl Routine Cheat Sheet?
It’s free — perfect for busy mornings.